You need to use the right technique when you attach a fiber optic drop wire clamp to a cable. This step helps protect the cable and keeps your connection strong. Always choose the correct clamp for your setup. You might use a flat fiber optic drop wire clamp, a fiber optic drop cable clamp, or a round optical fiber drop cable clamp. Good fiber drop cable installation prevents damage and keeps your signal clear. Check that you secure everything tightly for the best results.
Key Takeaways
- Pick the correct clamp for your fiber optic cable. This prevents damage and keeps the connection strong.
- Collect all tools and materials first to work safely and quickly.
- Be gentle with the cable. Cut and strip it carefully. Do not bend or crush the fibers.
- Place the clamp on the cable correctly. Tighten it firmly but not too much to protect the fibers.
- Fix the clamp tightly to a strong support. Check your work often to keep the cable safe and the signal clear.
Fiber Optic Drop Wire Clamp Tools and Materials
Before you start installing a fiber optic drop wire clamp, you need to gather the right tools and materials. Having everything ready helps you work faster and safer. You also lower the risk of damaging the cable or making mistakes.
Tools Needed
You will need a few basic tools for this job. Here is a list to help you get started:
- Wire cutters: Use these to trim the fiber optic cable to the right length.
- Utility knife: This tool helps you strip the outer jacket from the cable.
- Screwdriver: Some clamps need a screwdriver for tightening.
- Pliers: You can use pliers to bend or hold the cable in place.
- Measuring tape: This helps you measure the correct length of cable to prepare.
- Safety gloves: Wear gloves to protect your hands from sharp edges.
Tip: Always wear safety glasses when working with fiber optic cables. Tiny glass fibers can hurt your eyes.
Materials Required
You also need the right materials to complete the installation. Here is what you should have:
| Material | Purpose |
|---|---|
| Fiber optic drop wire clamp | Secures the cable to the support structure |
| Fiber optic cable | Carries the data signal |
| Cable ties | Helps organize and secure loose cables |
| Electrical tape | Adds extra protection to the cable ends |
| Mounting hardware (hooks, screws) | Attaches the clamp to poles or walls |
Make sure you choose a fiber optic drop wire clamp that matches your cable type. Using the correct materials keeps your installation strong and reliable.
Step-by-Step Fiber Optic Drop Wire Clamp Installation
Preparing the Fiber Optic Cable
Start by preparing your fiber optic cable for installation. Use your measuring tape to find the correct length of cable you need. Cut the cable cleanly with wire cutters. Make sure the cut is straight.
Next, put on your safety gloves and glasses. Use a utility knife to carefully strip the outer jacket from the end of the cable. Remove only as much as needed for the clamp. Do not cut too deep. You want to avoid damaging the fibers inside. If you see any nicks or cracks in the fibers, cut off that section and start again.
Tip: Always keep the cable clean and dry. Dirt or moisture can cause problems later.
After stripping the jacket, check the cable for any sharp edges. Wrap a small piece of electrical tape around the end if needed. This step helps protect the fibers and makes the cable easier to handle.
Positioning the Fiber Optic Drop Wire Clamp
Now you need to position the fiber optic drop wire clamp on the cable. Open the clamp and place it near the end of the prepared cable. Most clamps have a groove or channel that fits the cable shape. Make sure the cable sits snugly in this groove.
Slide the clamp to the spot where you want to secure the cable. Usually, you place the clamp about 10-15 centimeters from the end of the cable. This position gives you enough room to attach the clamp to a support structure later.
Check that the clamp does not press too hard on the cable. The clamp should hold the cable firmly but not crush it. If you use a clamp that is too tight, you might damage the fibers inside.
Note: The right position and fit help prevent signal loss and cable damage.
Securing the Clamp to the Cable
Once you have the fiber optic drop wire clamp in the correct position, you need to secure it. Close the clamp around the cable. Some clamps use screws, while others snap shut. Use a screwdriver or your hands, depending on the clamp type.
Tighten the clamp until it holds the cable firmly. Do not over-tighten. You want the cable to stay in place, but you do not want to crush or bend it. If your clamp has a locking mechanism, make sure it clicks or locks into place.
You can use cable ties to organize any extra cable near the clamp. Wrap the cable ties loosely. This step keeps your installation neat and reduces the risk of tangling.
Pro Tip: Double-check the clamp before moving to the next step. A secure clamp protects your fiber optic cable and keeps your connection strong.
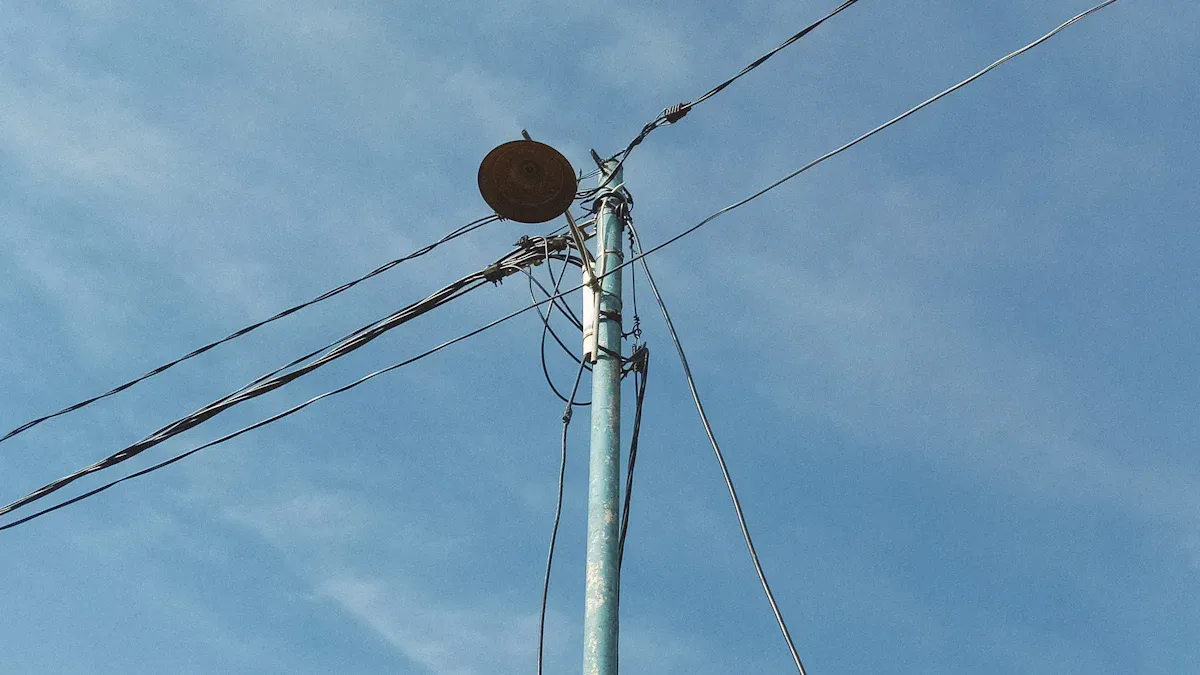
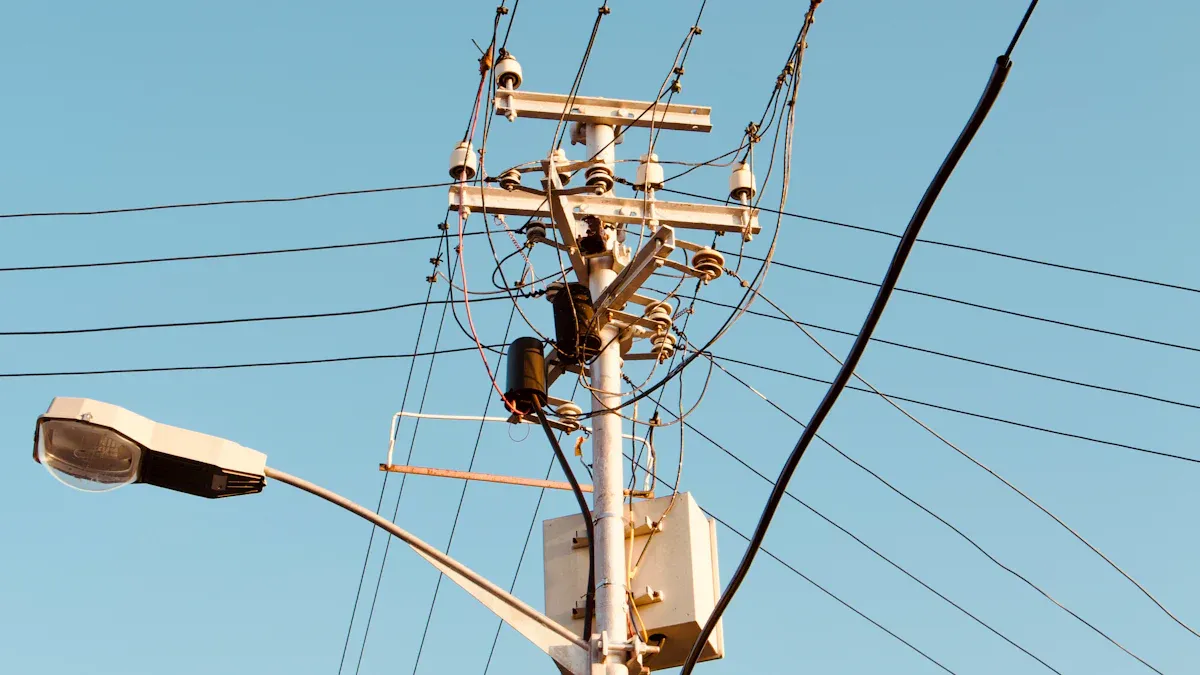
Attaching the Clamp to the Support Structure
After securing the fiber optic drop wire clamp to the cable, the next step is attaching it to the support structure. This ensures the cable stays in place and remains protected from environmental stress. Follow these steps to complete this part of the installation:
- Choose the Right Support Structure
Identify the structure where you will attach the clamp. Common options include poles, walls, or hooks. Ensure the structure is stable and strong enough to hold the cable securely. If you are working outdoors, check for weather-resistant materials to prevent long-term damage. - Position the Clamp on the Structure
Hold the clamp against the support structure at the desired location. Align it carefully to avoid unnecessary tension on the cable. The clamp should sit straight and level to maintain proper alignment of the fiber optic cable. - Secure the Clamp to the Structure
Use the appropriate mounting hardware to attach the clamp. For example:- If you are using screws, insert them through the clamp’s mounting holes and tighten them with a screwdriver.
- If the structure has hooks, slide the clamp onto the hook until it locks into place.
Ensure the clamp is firmly attached but avoid overtightening screws or forcing the clamp onto hooks. This prevents damage to both the clamp and the cable.
- Test the Installation
Gently pull on the cable to check if the clamp holds it securely. The cable should not move or slip out of the clamp. If you notice any instability, adjust the clamp or mounting hardware until the connection feels solid.
Pro Tip: Use additional cable ties to secure loose sections of the cable near the support structure. This keeps the installation neat and reduces the risk of tangling or snagging.
By following these steps, you ensure the fiber optic drop wire clamp is properly attached to the support structure. This protects the cable from physical strain and environmental factors, helping maintain signal quality over time.
Tips for a Secure Fiber Optic Drop Wire Clamp Installation
Preventing Cable Damage
You want to keep your fiber optic cable safe during installation. Always handle the cable gently. Do not bend it sharply or pull it too hard. Sharp bends can break the tiny glass fibers inside. Use your hands to guide the cable into the fiber optic drop wire clamp. Avoid using tools that might pinch or crush the cable.
Check the clamp before you close it. Make sure there are no sharp edges inside. If you see any, smooth them out or use a different clamp. You can also wrap a small piece of electrical tape around the cable where it meets the clamp. This adds extra protection.
Tip: Never step on the cable or let it hang loosely. This can cause hidden damage.
Ensuring Proper Tension and Alignment
Proper tension keeps your cable working well. Pull the cable just enough to remove slack, but do not stretch it. The fiber optic drop wire clamp should hold the cable firmly, but not squeeze it too tightly. If you see the cable bending or twisting, adjust the clamp position.
Use a measuring tape to check the distance between clamps. Even spacing helps the cable stay straight. You can use a level to make sure the cable does not sag or tilt. Good alignment prevents signal loss and keeps your installation looking neat.
- Check cable tension by gently pressing on it.
- Adjust clamps if you see any drooping or tight spots.
Improving Weather Resistance and Longevity
Outdoor cables face rain, sun, and wind. You can protect your installation by choosing weather-resistant clamps and hardware. Make sure the fiber optic drop wire clamp is rated for outdoor use if you install it outside.
Seal any exposed cable ends with electrical tape. This keeps out moisture and dirt. You can also use UV-resistant cable ties to secure loose sections. Regularly inspect your installation for signs of wear or damage.
Note: A little extra care during installation can help your cable last for many years.
Fiber Optic Drop Wire Clamp Mistakes and Troubleshooting
Common Installation Errors
You might run into problems if you do not follow the right steps during installation. Here are some common mistakes to watch out for:
- Using the wrong clamp size: If the clamp does not fit your cable, it can slip or crush the fibers.
- Over-tightening the clamp: Too much pressure can damage the cable and cause signal loss.
- Placing the clamp too close to the cable end: This can make the cable slip out or break under tension.
- Ignoring cable alignment: Twisted or bent cables can lead to weak connections.
- Skipping safety checks: Not wearing gloves or glasses can put you at risk of injury.
Tip: Always double-check your work before moving to the next step. Careful installation helps prevent most errors.
Troubleshooting Problems
If you notice issues after installation, you can fix many of them with a few simple checks. Here is what you can do:
- Loose Cable:
If the cable moves inside the clamp, open the clamp and reposition it. Make sure the cable sits snugly in the groove. Tighten the clamp just enough to hold the cable firmly. - Signal Loss:
Check for sharp bends or pinched spots along the cable. Straighten the cable and adjust the clamp if needed. Replace any damaged sections. - Clamp Slipping Off:
Make sure you use the correct clamp size. If the clamp keeps slipping, try a different model that matches your cable better. - Weather Damage:
Inspect outdoor installations for signs of rust or wear. Replace any rusty hardware and reseal exposed cable ends with electrical tape.
Note: Regular inspections help you catch problems early. Fixing small issues right away can save you from bigger repairs later.
You have learned the key steps to install a fiber optic drop wire clamp to a fiber optic cable. Always handle the cable with care and follow each step closely. Use the right tools and check your work as you go. Careful installation helps your connection stay strong and safe. Double-check every clamp and cable before you finish. This way, you protect your equipment and get the best results.
FAQ
How do you know if you have the right clamp for your fiber optic cable?
Check the clamp size and shape. Match it to your cable type—flat or round. The clamp should fit snugly without crushing the cable. If you feel resistance or see gaps, try a different clamp.
Can you reuse a fiber optic drop wire clamp?
You can reuse some clamps if they show no damage or wear. Inspect the clamp for cracks or rust. If the clamp looks weak or bent, use a new one for safety.
What should you do if the cable slips out of the clamp?
Tighten the clamp gently. Make sure the cable sits in the groove. If it still slips, use a clamp that matches your cable size. Avoid over-tightening, as this can damage the fibers.
Is it safe to install fiber optic clamps outdoors?
Yes, you can install them outdoors. Use weather-resistant clamps and hardware. Seal cable ends with electrical tape. Check your installation often for signs of rust or wear.
By: Consult
Tel: +86 574 27877377
Mb: +86 13857874858
E-mail: henry@cn-ftth.com
Youtube: DOWELL
Pinterest: DOWELL
Facebook: DOWELL
Linkedin: DOWELL
Post time: Jun-12-2025