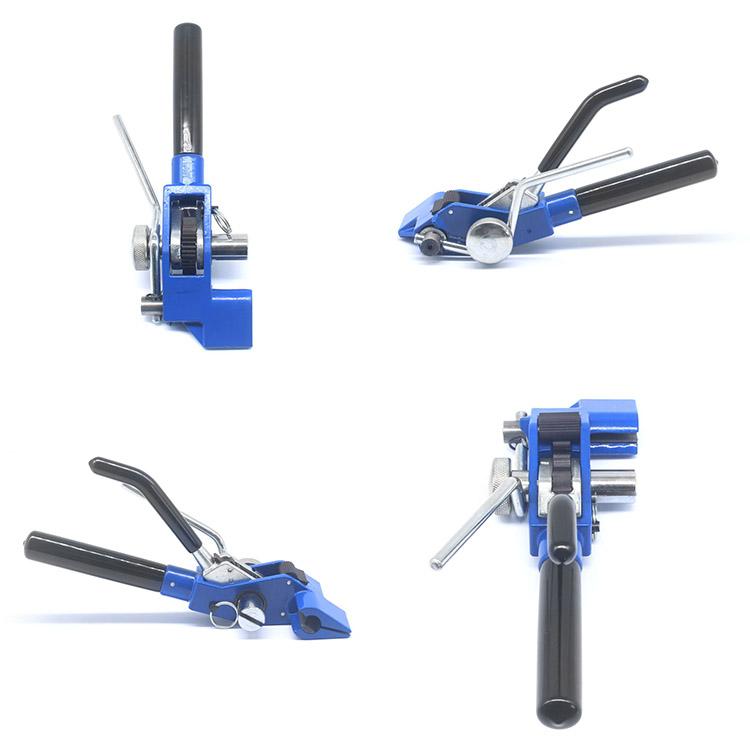
Securing cables with a Stainless Steel Strap Tension Tool involves straightforward steps. Users position cables, apply the strap, tension it, and cut excess for a flush finish. This method delivers precise tension, protects cables from damage, and guarantees reliable fastening. Every step supports safety, durability, and professional results across demanding environments.
Key Takeaways
- Gather all necessary tools and wear protective gear before starting to ensure safety and efficiency.
- Organize cables neatly and use the Stainless Steel Strap Tension Tool to apply precise tension and secure fastening.
- Inspect the fastening carefully and perform tests to confirm strong, damage-free cable bundles for lasting reliability.
Preparing for Cable Fastening with a Stainless Steel Strap Tension Tool
Gather Required Tools and Accessories
Preparation leads to success. Before starting, workers should collect all necessary tools and accessories. This step saves time and prevents interruptions. The following table highlights essential items for a smooth cable fastening process:
| Tool/Accessory | Description/Use Case |
|---|---|
| Tensioners | Tighten steel straps around cables |
| Buckles | Secure the ends of straps for a firm hold |
| Seals | Lock straps in place for added security |
| Cutters | Trim excess strap for a neat finish |
| Banding Dispensers | Hold and dispense strapping material |
| Mounting Tools | Help attach straps or accessories to surfaces |
| Protective Gear | Gloves and safety glasses to prevent injuries |
Tip: Workers should always wear gloves to protect hands from sharp strap edges and use safety glasses to guard against flying debris.
Organize and Position Cables
Proper cable organization ensures a safe and professional result. Workers should follow these steps for best results:
- Select the right size and type of stainless steel cable tie for the bundle.
- Straighten and align cables to prevent tangles.
- Wrap the tie evenly around the cables, keeping them parallel.
- Thread the tie through the locking mechanism and pull snugly.
- Use the Stainless Steel Strap Tension Tool for precise tightening.
- Trim any excess tie for a clean appearance.
- Inspect the bundle to confirm secure fastening.
A tidy setup not only looks better but also protects cables from damage. Careful preparation with the right tools and organization leads to reliable, long-lasting cable fastening.
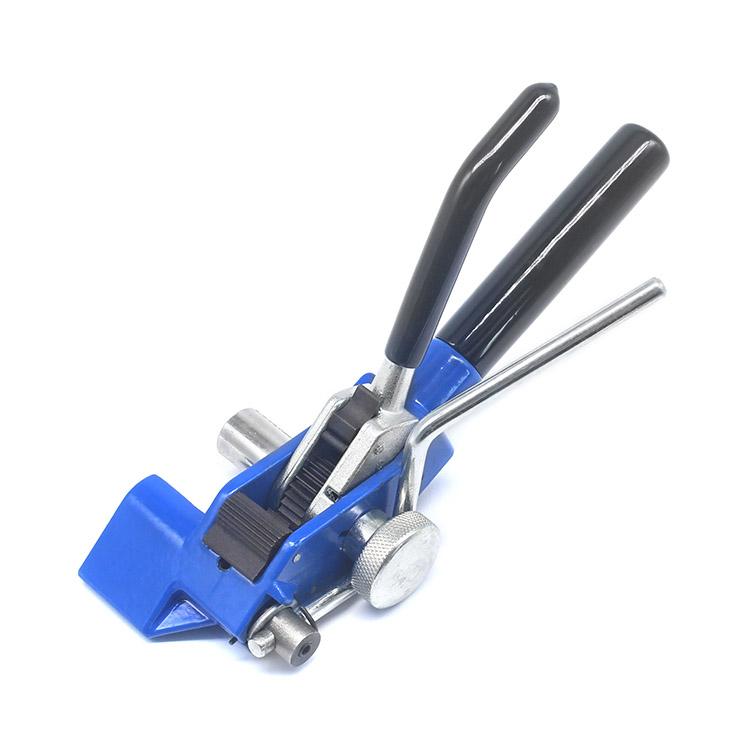
Securing Cables Using the Stainless Steel Strap Tension Tool
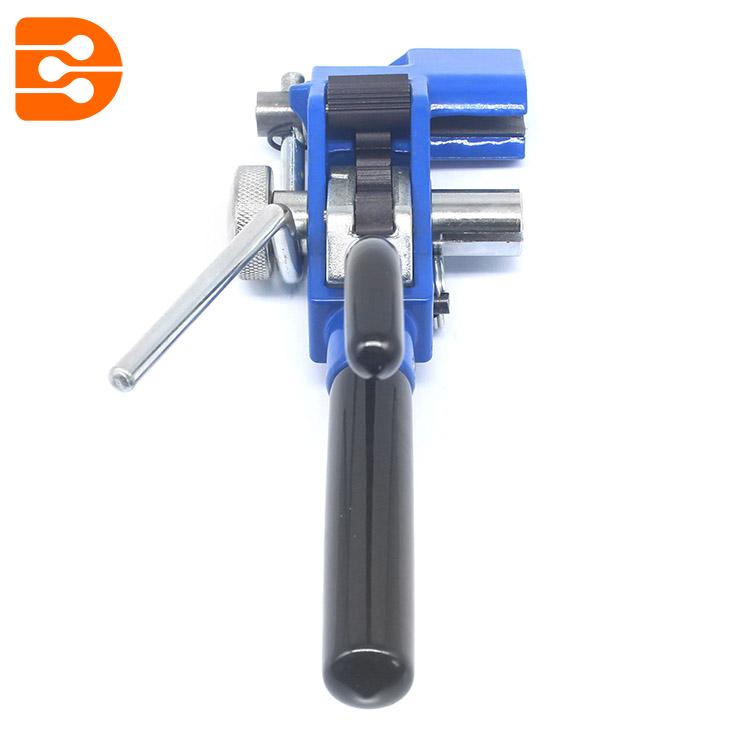
Position the Tool on the Cables
Proper positioning of the tool sets the foundation for a secure fastening. Workers start by wrapping the stainless steel strap around the cable bundle, making sure the strap overlaps for extra strength. They then place the bottom end of the strap under the base plate of the tension tool. The top end feeds through the tool’s gripper or windlass mechanism. Alignment matters. The strap must sit flat and centered on the cable bundle. This prevents uneven pressure and shifting during tensioning.
Tip: Always check that the cable tie teeth face inward and the tie sits away from sharp edges. This reduces the risk of slippage and damage.
Common mistakes include choosing the wrong strap size, placing the tie off-center, or failing to lock the tie completely. Workers should wear gloves to protect their hands from sharp edges and keep the tool steady for best results.
Fasten and Adjust the Straps
Once the tool is in position, the fastening process begins. Workers follow these steps for a tight and reliable hold:
- Tighten the strap by hand to remove slack.
- Squeeze the grip lever on the Stainless Steel Strap Tension Tool and insert the layered strap between the base and grip wheel.
- Release the grip lever to secure the strap in place.
- Use the tensioning lever to pull the strap tight. The tool’s design allows for precise tension without over-tightening.
- Slide a metal seal over the overlapped strap ends near the tool.
- Use a crimper to attach the seal securely, or rely on the tool’s built-in mechanism if available.
- Cut off excess strap with the tool’s sharp cutting head, ensuring a flush and safe finish.
To prevent slippage, workers can double-back the strap through the buckle or use anti-slip materials. Regular maintenance of the tool and selection of the correct strap size also improve grip and reliability. Training in proper technique ensures every fastening meets industry standards for strength and safety.
Inspect and Test the Fastening
Inspection and testing confirm the quality of the work. Workers should:
- Visually inspect the cable bundle and fastening for alignment, tightness, and absence of sharp or loose ends.
- Check that the seal is properly crimped and the strap is flush against the cables.
- Verify that the cables are not loaded beyond their rated capacity and that no damage or defects are present.
- Conduct a pull test by gently tugging on the bundle to ensure the strap holds firm.
- For critical applications, use a calibrated pull tester to measure the force required to break or loosen the fastening, following industry standards.
- Record inspection results and remove any cables or fastenings that show signs of wear, damage, or improper assembly.
Note: Daily inspections and periodic testing help maintain safety and compliance with industry requirements. Workers should always follow best practices for mechanical and electrical integrity.
A secure and tested fastening with the Stainless Steel Strap Tension Tool delivers peace of mind. It ensures cables stay protected and organized, even in harsh or high-vibration environments.
Troubleshooting and Tips for Stainless Steel Strap Tension Tool Use
Avoiding Common Mistakes
Many workers face similar issues when fastening cables. They sometimes use the wrong strap size or forget to check the alignment. These mistakes can lead to loose cables or damaged straps. Workers should always double-check the strap width and thickness before starting. They must keep the strap flat and centered on the cable bundle. Gloves protect hands from sharp edges. Safety glasses shield eyes from flying debris.
Tip: Always inspect the buckle and seal before applying tension. A quick check prevents weak holds and saves time later.
Quick Solutions for Fastening Issues
Fastening problems can slow down any project. Workers can solve most issues with a few simple steps:
1. If pins slide in too easily and do not hold, remove them and bend them slightly. This creates tension and helps the pins stay in place. 2. After bending, tap the pins back into their holes with a flat-ended hammer. This ensures a secure fit. 3. For sliding clasps on mesh bands, find the small metal lever inside the clasp. 4. Use a spring bar tool or small screwdriver to lift the lever. Slide the clasp to the correct spot. 5. Press the lever down firmly. Use small pliers or a hobby hammer if needed. The clasp should click and stay in place.
A well-maintained Stainless Steel Strap Tension Tool makes every job easier. Workers who follow these tips achieve strong, reliable cable fastening every time.
To achieve safe and professional cable fastening, workers should:
1. Select the right stainless steel cable ties. 2. Arrange cables neatly. 3. Use the Stainless Steel Strap Tension Tool for firm tension. 4. Cut excess strap for a clean finish.
Careful preparation and proper tool use ensure long-lasting, reliable cable installations.
FAQ
How does this tool improve cable safety?
This tool delivers tight, secure fastening. Workers prevent cable movement and reduce risk of damage. Reliable tension protects installations in harsh environments.
Can beginners use this tool easily?
Yes. The tool features a simple design. Anyone can achieve professional results with basic instructions. Workers save time and effort on every project.
What maintenance does the tool require?
Workers should clean the tool after each use. Regular checks for wear keep performance high. Lubricate moving parts for smooth operation and long life.
Post time: Aug-11-2025